 Precision Machinery Manufacturing Co., Ltd.")

- Afrikaans
- Albanian
- Amharic
- Arabic
- Armenian
- Azerbaijani
- Basque
- Belarusian
- Bengali
- Bosnian
- Bulgarian
- Catalan
- Cebuano
- China
- China (Taiwan)
- Corsican
- Croatian
- Czech
- Danish
- Dutch
- English
- Esperanto
- Estonian
- Finnish
- French
- Frisian
- Galician
- Georgian
- German
- Greek
- Gujarati
- Haitian Creole
- hausa
- hawaiian
- Hebrew
- Hindi
- Miao
- Indonesian
- Italian
- Japanese
- Javanese
- Malay
- Persian
- Portuguese
- Punjabi
- Russian
- Spanish
- Swahili
- Telugu
- Vietnamese


Feb . 16, 2025 12:55
Back to list
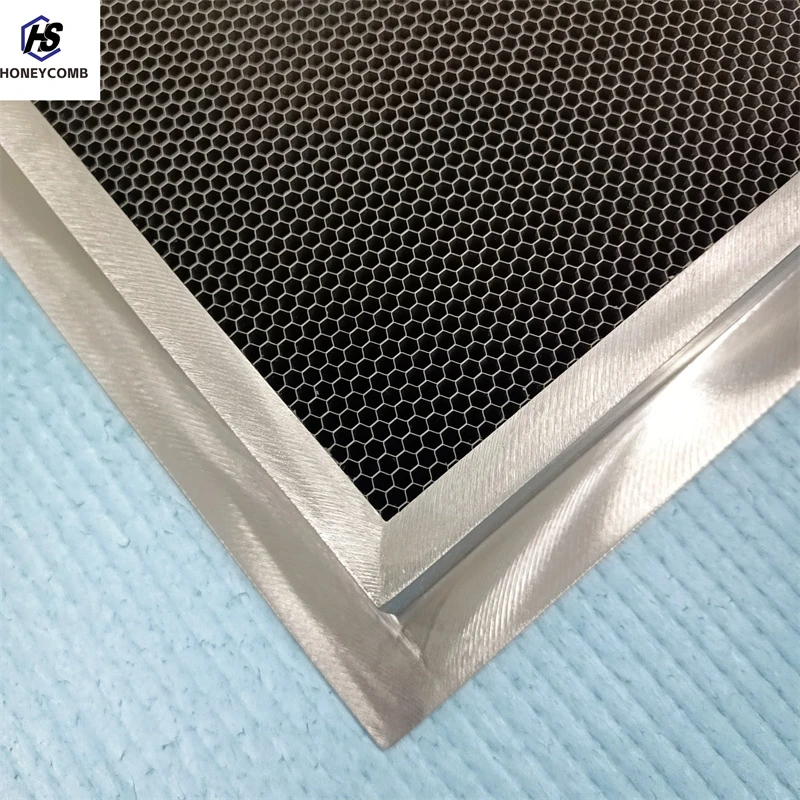
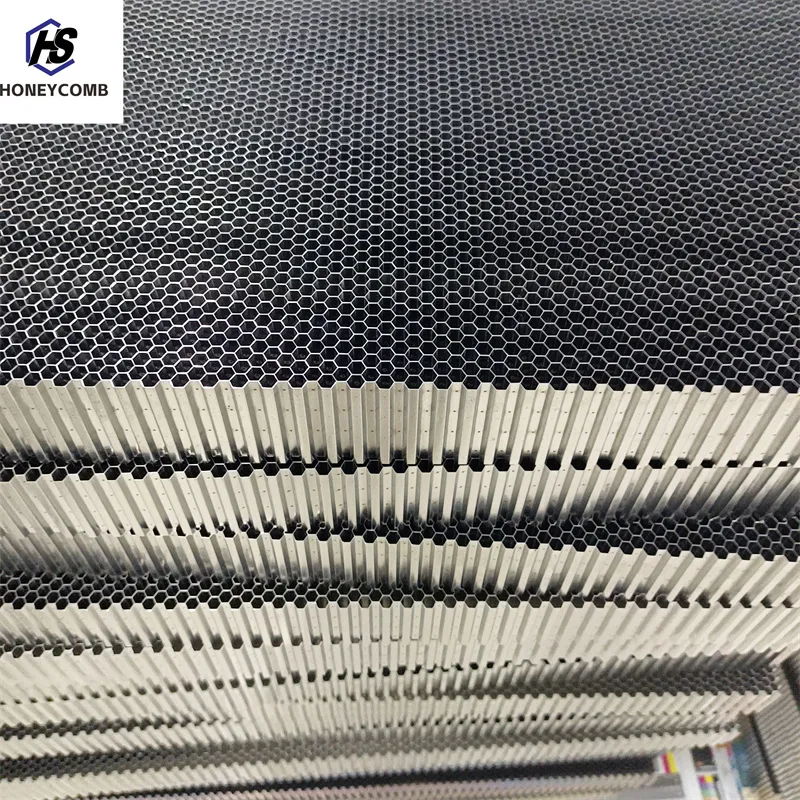
diy aer fow straightener
Creating a DIY air flow straightener involves transforming the everyday airflow management tasks into a more efficient science, all while maintaining a budget-friendly approach. The journey to mastering air flow optimization at home showcases hands-on experience, dives into technical expertise, solidifies authoritative knowledge, and nurtures trustworthiness.
Testing and troubleshooting are essential steps, bridging the gap between theory and practical application. Testing involves evaluating the straightener's performance using simple observational methods such as checking for consistent airflow or more sophisticated techniques like using an anemometer to measure airflow rates before and after installation. Troubleshooting common issues, like restricted airflow or unexpected noise, involves adjusting the size of the cells or the material's configuration. Each successful DIY air flow straightener amplifies the authority of the creator, showcasing a commitment to innovation and sustainability. It reflects comprehension in balancing scientific principles with practical execution. Sharing these projects with a community of fellow enthusiasts or publicly documenting the process on platforms enhances credibility. Ensuring safety and maintaining trust is paramount throughout this process. Proper use of tools during construction, adherence to safety protocols, and compliance with any relevant standards or regulations elevate the reliability of the project. Vetting information sources and cross-referencing with reputable engineering guidelines ensures that the shared knowledge remains accurate and trustworthy. By crafting a DIY air flow straightener, individuals not only enhance their personal knowledge and expertise but also contribute to a larger movement of responsible and informed DIY solutions. This project embodies a commitment to utilizing engineering principles to solve everyday problems economically, empowering others with both confidence and competence in their own capabilities.
Testing and troubleshooting are essential steps, bridging the gap between theory and practical application. Testing involves evaluating the straightener's performance using simple observational methods such as checking for consistent airflow or more sophisticated techniques like using an anemometer to measure airflow rates before and after installation. Troubleshooting common issues, like restricted airflow or unexpected noise, involves adjusting the size of the cells or the material's configuration. Each successful DIY air flow straightener amplifies the authority of the creator, showcasing a commitment to innovation and sustainability. It reflects comprehension in balancing scientific principles with practical execution. Sharing these projects with a community of fellow enthusiasts or publicly documenting the process on platforms enhances credibility. Ensuring safety and maintaining trust is paramount throughout this process. Proper use of tools during construction, adherence to safety protocols, and compliance with any relevant standards or regulations elevate the reliability of the project. Vetting information sources and cross-referencing with reputable engineering guidelines ensures that the shared knowledge remains accurate and trustworthy. By crafting a DIY air flow straightener, individuals not only enhance their personal knowledge and expertise but also contribute to a larger movement of responsible and informed DIY solutions. This project embodies a commitment to utilizing engineering principles to solve everyday problems economically, empowering others with both confidence and competence in their own capabilities.


Latest news
-
Why Vented Aluminum Honeycomb Is Leading the Way in Shielding and Ventilation SolutionsNewsJul.18,2025
-
Why Stainless Steel Honeycomb Panel is the Ultimate Choice for High-Tech Shielding and ProtectionNewsJul.18,2025
-
Why Honeycomb Strips Are Revolutionizing High-Speed Sealing SolutionsNewsJul.18,2025
-
Shielded Glass Innovation Powers the Future of Electromagnetic ProtectionNewsJul.18,2025
-
Precision Starts Here: Revolutionizing Airflow Control with Honeycomb Wind Tunnel SolutionsNewsJul.18,2025
-
Elevate Industrial Performance with Precision-Engineered Steel Honeycomb Core SolutionsNewsJul.18,2025
-
Vented Aluminum Honeycomb: A Smart Shield for Airflow and EMI ControlNewsJul.11,2025


