 Precision Machinery Manufacturing Co., Ltd.")


Feb . 15, 2025 12:25
Back to list
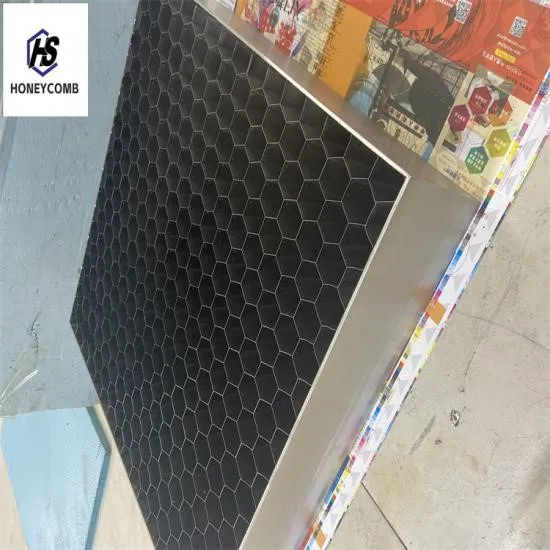
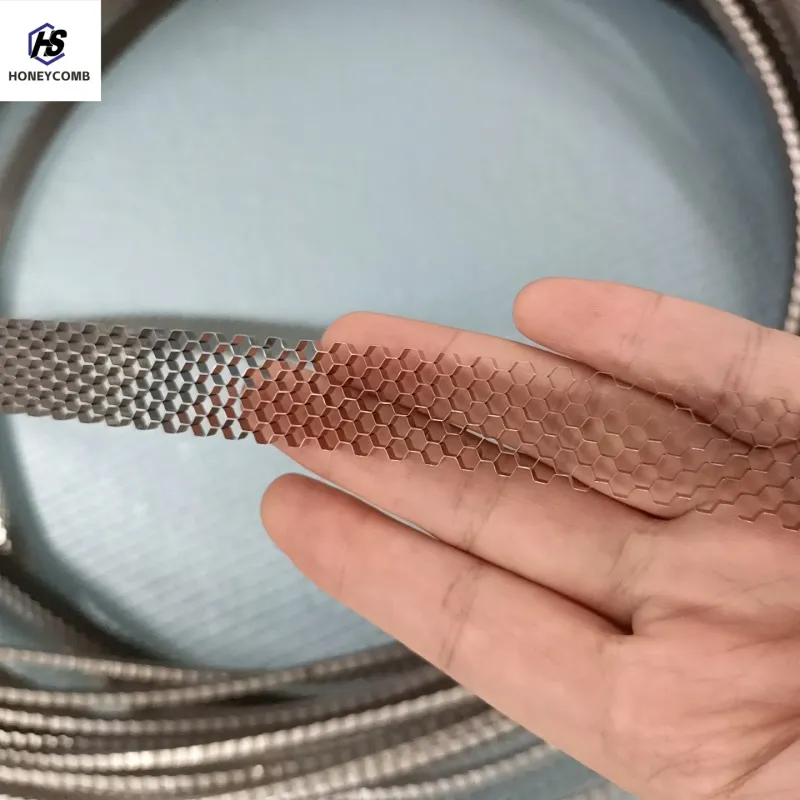
maf straightener
Crafting a homemade air flow rectifier can significantly optimize your ventilation systems, ensuring maximal efficiency and maintaining air quality. For enthusiasts and DIY aficionados looking to explore the realm of air rectification, this guide offers insights rooted in real-world experience and expert knowledge.
Authority in the realm of air rectification derives from in-depth testing and modification. After assembling your rectifier, vigorous testing is essential. Utilize an anemometer to measure air flow rate and check for any unwanted turbulence or inefficiencies. Adjust the grid density and opening size until optimal performance is achieved. Often, slight modifications can result in significant efficiency improvements. Trust is paramount when sharing DIY advice. Safety should always be the first consideration, especially when dealing with systems like HVACs or electric fans where contact with moving parts can be hazardous. Secure the rectifier firmly to prevent accidental displacement and ensure it is only used in compatible systems to avoid any operational issues. When addressing a niche area such as DIY air flow rectifiers, clear communication ensures that complex concepts are easily understood. For a high-volume air handling system, consider denser grids, while low-volume setups may benefit from fewer obstacles. Always tailor your approach based on detailed need analysis and specifications relevant to your application. In summary, the creation of a DIY air flow rectifier involves careful consideration of material, design, and testing. Draw from practical experiences to ensure efficiency, rely on expert recommendations for technical specifics, adopt authoritative validations through precise testings, and prioritize trust by underlining safety and reliability. Whether optimizing a home ventilation system or engaging in a scientific experiment, mastering this process can yield substantial benefits and foster innovation.
Authority in the realm of air rectification derives from in-depth testing and modification. After assembling your rectifier, vigorous testing is essential. Utilize an anemometer to measure air flow rate and check for any unwanted turbulence or inefficiencies. Adjust the grid density and opening size until optimal performance is achieved. Often, slight modifications can result in significant efficiency improvements. Trust is paramount when sharing DIY advice. Safety should always be the first consideration, especially when dealing with systems like HVACs or electric fans where contact with moving parts can be hazardous. Secure the rectifier firmly to prevent accidental displacement and ensure it is only used in compatible systems to avoid any operational issues. When addressing a niche area such as DIY air flow rectifiers, clear communication ensures that complex concepts are easily understood. For a high-volume air handling system, consider denser grids, while low-volume setups may benefit from fewer obstacles. Always tailor your approach based on detailed need analysis and specifications relevant to your application. In summary, the creation of a DIY air flow rectifier involves careful consideration of material, design, and testing. Draw from practical experiences to ensure efficiency, rely on expert recommendations for technical specifics, adopt authoritative validations through precise testings, and prioritize trust by underlining safety and reliability. Whether optimizing a home ventilation system or engaging in a scientific experiment, mastering this process can yield substantial benefits and foster innovation.
Prev:
Next:


Latest news
-
Industrial Airflow Guide for maf воздушная правильная машинаNewsApr.16,2026
-
Best maf струйно правильная машина for Industrial EfficiencyNewsApr.09,2026
-
Сотовая правильная машина A Comprehensive Guide to Honey Packing AutomationNewsApr.07,2026
-
Build Your Own DIY газоправильная Машина A Comprehensive Guide to Gas CorrectionNewsApr.04,2026
-
Understanding Кондиционер отопления Systems for Efficient and Comfortable HeatingNewsMar.31,2026
-
Comprehensive Guide to Cellular Blinds Installation Установка сотовых жалюзиNewsMar.28,2026
-
Mobile Aerodynamic Tunnel Design A Comprehensive Guide to Applications and ImplementationNewsMar.26,2026


